
How to Change Your Shower Head
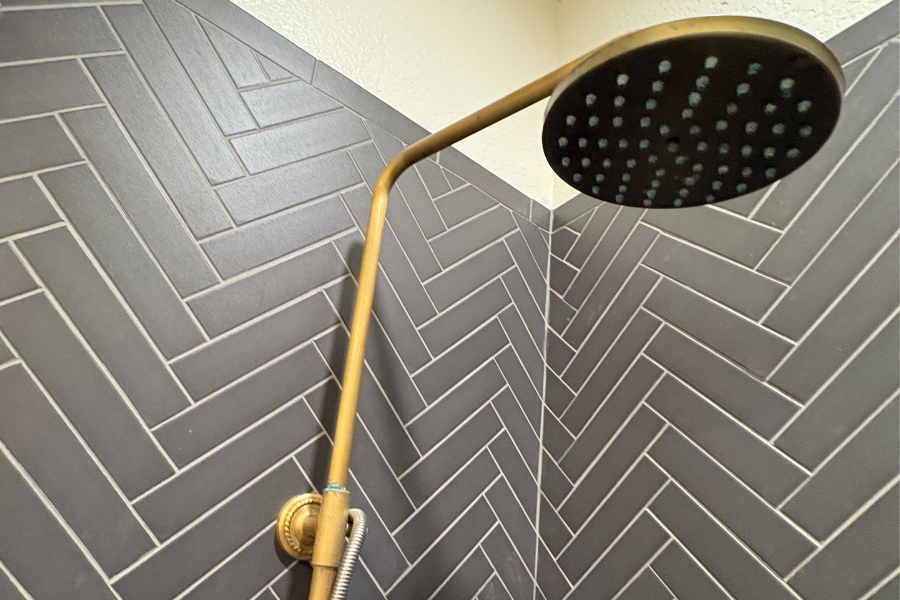
Installing a shower head is one of the easiest, most effective ways to enhance the look of your bath. If your shower head is looking old and dingy, it’s time to get out your wrench and start replacing it with a fresh, new upgrade. The experts at CW Service Pros will show you how to change a shower head in these simple steps.
Step 1: Prep the Area Have everything you need on hand, including the new shower head, damp paper towel, pliers, wrench and Teflon tape. The water should be turned off, and you can cover the area with a towel to protect where you’ll be working.
Step 2: Remove the Old Shower Head Using adjustable pliers, remove the shower head. It won’t be difficult, just remember the old adage, “Righty tighty, lefty loosey.” Once removed, use the paper towel to wipe away excess dirt and dry the threads. If the buildup is stubborn, apply a small amount of water and white vinegar using a rag.
Step 3: Apply Teflon Tape Before installing a new shower head, wrap Teflon tape around the threads so that they are covered. Start at the base of the threads and work your way upwards, moving in a clockwise direction and wrapping once or twice.
Step 4: Install the New Shower Head Screw your new fixture onto the cleaned pipe and tighten it with a wrench. While it’s important for the shower head to have a tight fit, you don’t want to over-tighten it. In fact, a plumbing fixture service will recommend reading the manufacturer’s instructions first as many new models can be tightened by hand.
Step 5: Do a Test Run Once everything is in place, turn on the water and make sure there are no leaks. If there are, tighten the fixture in quarter-turns to avoid over-tightening. Even though changing out a shower head is fairly straightforward, our team at CW Service Pros understands that things happen. Whether you need immediate service or helpful advice, contact our experts at 972-395-2597.
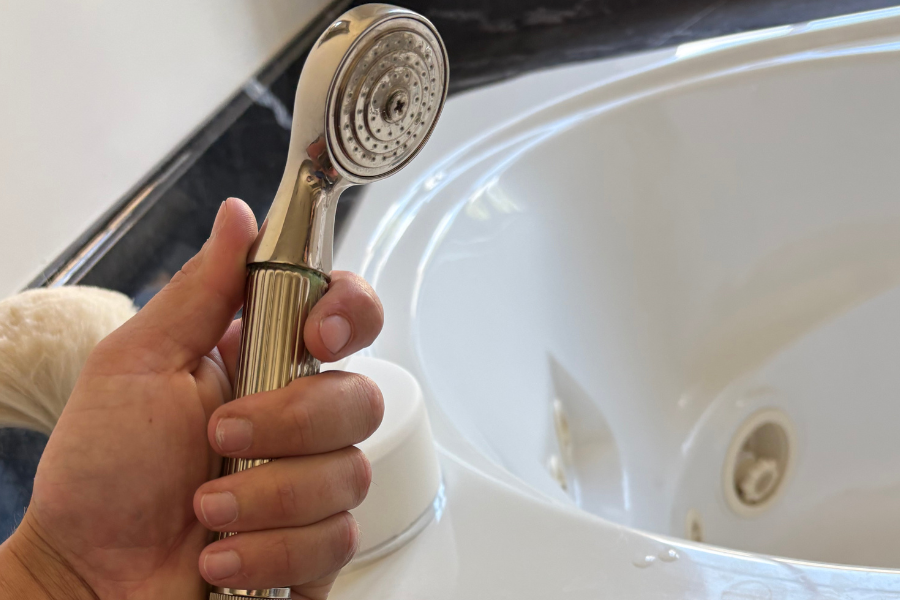
FAQs
Can I change a shower head myself?
A straightforward replacement on an undamaged, compatible shower arm may be manageable. Follow the product instructions and stop if the connection is seized, the arm moves at the wall, or you find damaged threads.
Do all shower heads need thread-seal tape?
No. Sealing methods vary, and some products use washers without thread tape. Check the installation instructions for your exact model rather than assuming tape is necessary.
Should I use a wrench to tighten a new shower head?
Only if the manufacturer specifies it. Some models require hand tightening. Excessive force can damage the connection, so follow the stated method and avoid cross-threading.
What should I do if the old shower head will not come off?
Avoid forcing it or twisting the shower arm. If the connection is corroded, seized, or moving at the wall, contact a plumber. Preventing damage to the concealed connection matters more than completing the replacement yourself.
Why is my new shower head leaking at the connection?
Possible causes include misaligned threads, an incorrectly seated washer, or an unsuitable sealing method. Turn the shower off and review the product instructions. Do not keep tightening the fitting if the leak persists.
Will replacing the shower head fix dripping when the shower is off?
Not necessarily. Persistent dripping after residual water has drained may involve the shower valve rather than the showerhead. Have the source checked before replacing additional parts.
Finish With a Secure, Leak-Free Connection
Changing a shower head can be a simple update when the existing connection is sound and the replacement is compatible. Follow the manufacturer’s sealing and tightening instructions, then check carefully for leaks. If removal requires excessive force or the connection remains wet after installation, stop and have the problem assessed.