


If you’re dealing with a leaky faucet in your home in The Colony, TX, you’re not alone. Many homeowners face this issue, and it often stems from worn washers or O-rings. Before you start your repairs, it’s crucial to know how to identify the problem and the steps to fix it. Understanding the common causes will make the process smoother, and you’ll be on your way to a fully functioning faucet in no time.
Identifying Leaky Faucets and Their Causes
Have you ever noticed water dripping from your faucet and wondered why? A leaky faucet can be more than just an annoyance; it might indicate a deeper issue.
First, check for visible leaks around the faucet handle and spout. If you see water pooling, that’s a sign something’s wrong. Often, the cause is a worn-out washer or O-ring, which can deteriorate over time, leading to leaks.
Sometimes, the faucet’s valve seat might be corroded, causing a poor seal. You may as well encounter leaks because of improper installation or loose fittings.
Listen for sounds of dripping; if it’s persistent, it’s time to investigate further. By identifying these common causes early, you can prevent more significant water waste and potential damage. Additionally, consulting with professionals who specialize in faucet repair and installation can provide you with expert insight into resolving these issues effectively.
If you’re unsure about the source, don’t hesitate to call in professionals who can help pinpoint the problem and recommend the right solutions.
Fixing Dripping Faucets: A Step-by-Step Guide
Once you’ve identified the source of your leaky faucet, fixing it can be a straightforward process.
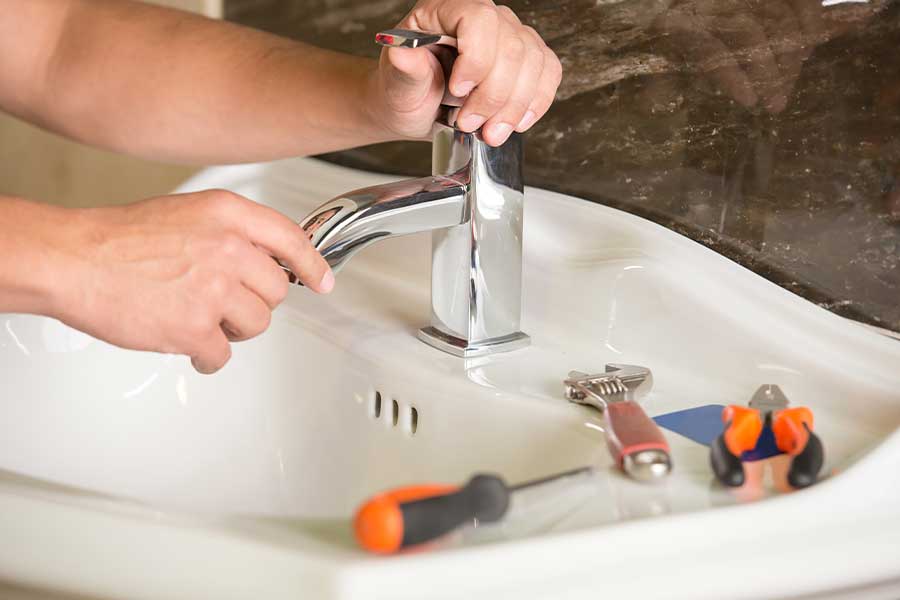
First, gather your tools: a wrench, screwdriver, and replacement parts. Start by turning off the water supply to prevent any mess.
Then, remove the faucet handle by loosening the screw, which is often hidden under a decorative cap. Once the handle is off, take out the packing nut and inspect the O-ring or washer. If it’s worn or damaged, replace it with a new one.
Reassemble the faucet by reversing the steps you took to disassemble it, ensuring everything is tightened securely.
Finally, turn the water supply back on and check for leaks. If it’s still dripping, you might need to consult a professional. Remember that timely repairs can enhance home comfort and prevent further damage.
Dealing With Low Water Pressure Issues
When you notice low water pressure in your home, it can be both frustrating and inconvenient.
Start by checking the aerator on your faucet. Mineral buildup can restrict water flow, so unscrew it and clean it thoroughly.
If that doesn’t solve the issue, inspect your water supply valve. Make sure it’s fully open.
Sometimes, low pressure may stem from issues in your plumbing system, such as leaks or blockages. Look for any visible leaks around pipes, and consider flushing your water heater if it’s an older model, as sediment can accumulate and hinder performance.
If these steps don’t help, you might need to consult a professional plumber. They can diagnose any underlying issues and guarantee your water pressure returns to normal, especially if you experience emergency plumbing situations that require immediate attention.
How to Replace a Faucet Cartridge
If you find yourself dealing with a dripping faucet, replacing the cartridge might be the straightforward solution you need.
First, turn off the water supply to avoid any mess. Then, remove the handle by loosening the screw underneath or at the back. Once the handle is off, you’ll see a decorative cap; pry it off gently if needed.
Next, unscrew the retaining nut using pliers or a wrench. Carefully pull out the old cartridge, noting its orientation for the new one.
Before inserting the new cartridge, verify the rubber O-rings are lubricated with plumber’s grease for a better seal. Place the new cartridge in, reassemble the retaining nut, and replace the handle.
Finally, turn the water supply back on and test your faucet. If all goes well, you should enjoy a drip-free experience! Additionally, keeping your plumbing system well-maintained can help prevent issues like strange noises and leaks.
Maintaining Your Faucet for Longevity and Performance
To guarantee your faucet remains in top shape for years to come, regular maintenance is key.
By staying proactive, you can avoid costly repairs and ensure smooth operation. Here are three crucial tips to keep your faucet performing at its best:
1. Check for Leaks: Regularly inspect your faucet for any signs of dripping or moisture around the base.
Address leaks promptly to prevent water waste and potential damage.
2. Clean Aerator and Screens: Mineral buildup can affect water flow.
Remove the aerator and clean it with vinegar and a soft brush every few months to maintain peak performance.
3. Tighten Loose Parts: Periodically check the handles and spout for any looseness.
Tightening these components can prevent further wear and tear.

Conclusion
In summary, tackling common faucet problems in your home can save you time, water, and money. For instance, when Sarah in The Colony, TX, noticed a dripping faucet, she followed the steps to replace the washer and stopped the leak. Not only did she prevent water waste, but she also improved her home’s efficiency. By staying proactive with maintenance, you can keep your faucet in top shape and avoid bigger issues down the road.